はじめに
Flutterに触る機会があったので、開発環境構築手順をまとめました。
ゴール
VSCodeを使って、実機によるデバッグができるようにする。
実行環境
- macOS 10.14.6 Mojave
- VSCodeインストール済み
Flutterのセットアップ
以下のサイトにアクセスし、Flutter SDKをダウンロードします。
flutter.dev
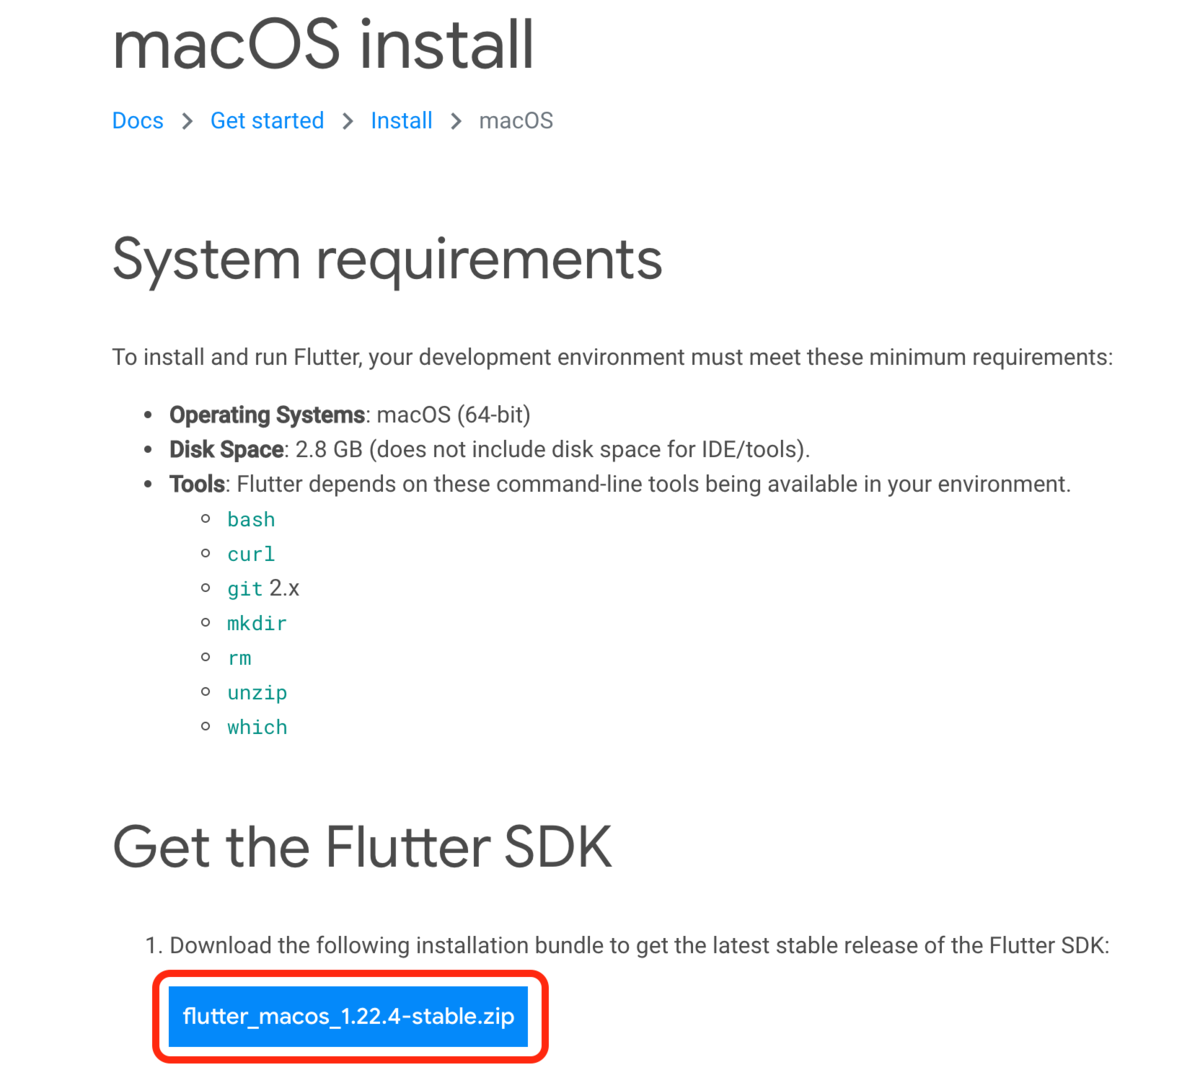
ダウンロード完了後、解凍し、~/develop に移動します。
~/.bash_profileに以下の記述を追記します。
export PATH=$PATH:/home/<ユーザ名>/develop/flutter/bin
.bash_profileの編集内容を反映します。
source ~/.bash_profile
以下のコマンドを実行し、flutterの開発環境の状況を確認します。
flutter doctor
以下のような結果が表示されます。
[✓] Flutter (Channel stable, 1.22.4, on Mac OS X 10.14.6 18G103 darwin-x64, locale ja-JP)
[✗] Android toolchain - develop for Android devices
    ✗ Unable to locate Android SDK.
      Install Android Studio from: https://developer.android.com/studio/index.html
      On first launch it will assist you in installing the Android SDK components.
      (or visit https://flutter.dev/docs/get-started/install/macos#android-setup for detailed instructions).
      If the Android SDK has been installed to a custom location, set ANDROID_SDK_ROOT to that location.
      You may also want to add it to your PATH environment variable.

[✗] Xcode - develop for iOS and macOS
    ✗ Xcode installation is incomplete; a full installation is necessary for iOS development.
      Download at: https://developer.apple.com/xcode/download/
      Or install Xcode via the App Store.
      Once installed, run:
        sudo xcode-select --switch /Applications/Xcode.app/Contents/Developer
        sudo xcodebuild -runFirstLaunch
    ✗ CocoaPods not installed.
        CocoaPods is used to retrieve the iOS and macOS platform side's plugin code that responds to your plugin usage on the Dart side.
        Without CocoaPods, plugins will not work on iOS or macOS.
        For more info, see https://flutter.dev/platform-plugins
      To install:
        sudo gem install cocoapods
[!] Android Studio (not installed)
[!] VS Code (version 1.50.1)
    ✗ Flutter extension not installed; install from
      https://marketplace.visualstudio.com/items?itemName=Dart-Code.flutter
[!] Connected device
    ! No devices available
左に表示されている記号の意味は以下のとおりです。
[✓] :OK
[✗] :NG
[!] :WARN
今回はFlutterアプリを実機で確認できるところまでなので、 Androidに絞りたいと思います。
iOSでも確認したい場合は、Xcodeのセットアップを行うようにしてください。
Android SDKのセットアップ
以下のサイトからAndroid Studioのインストーラをダウンロードします。
developer.android.com
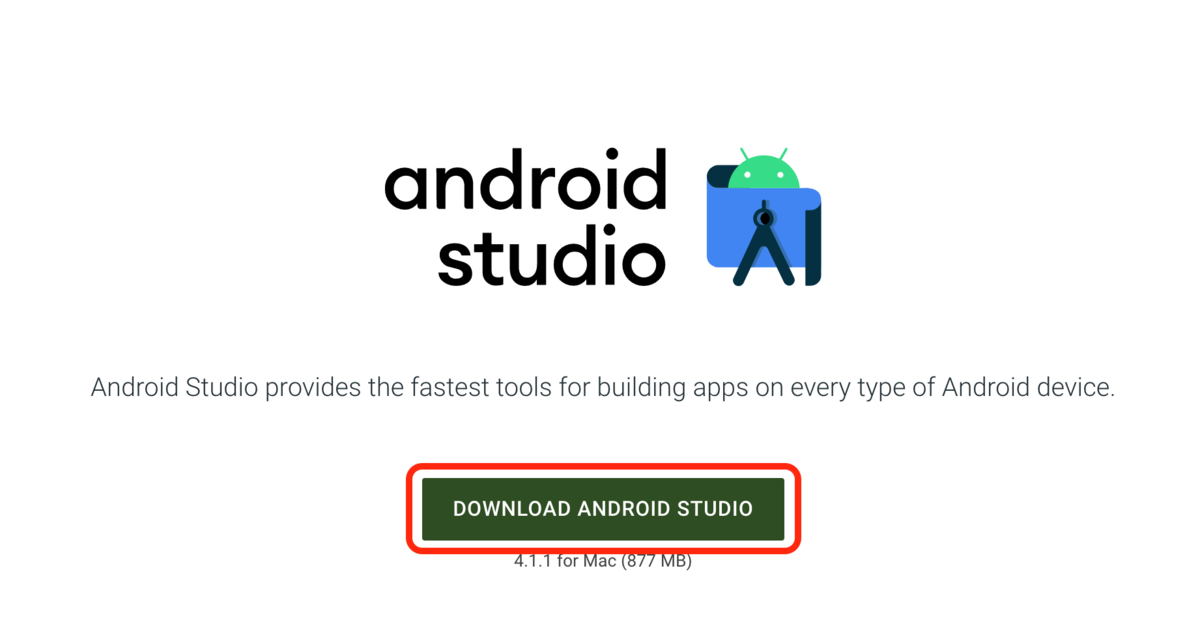
ダウンロード完了後、インストーラを実行します。
VSCodeのセットアップ
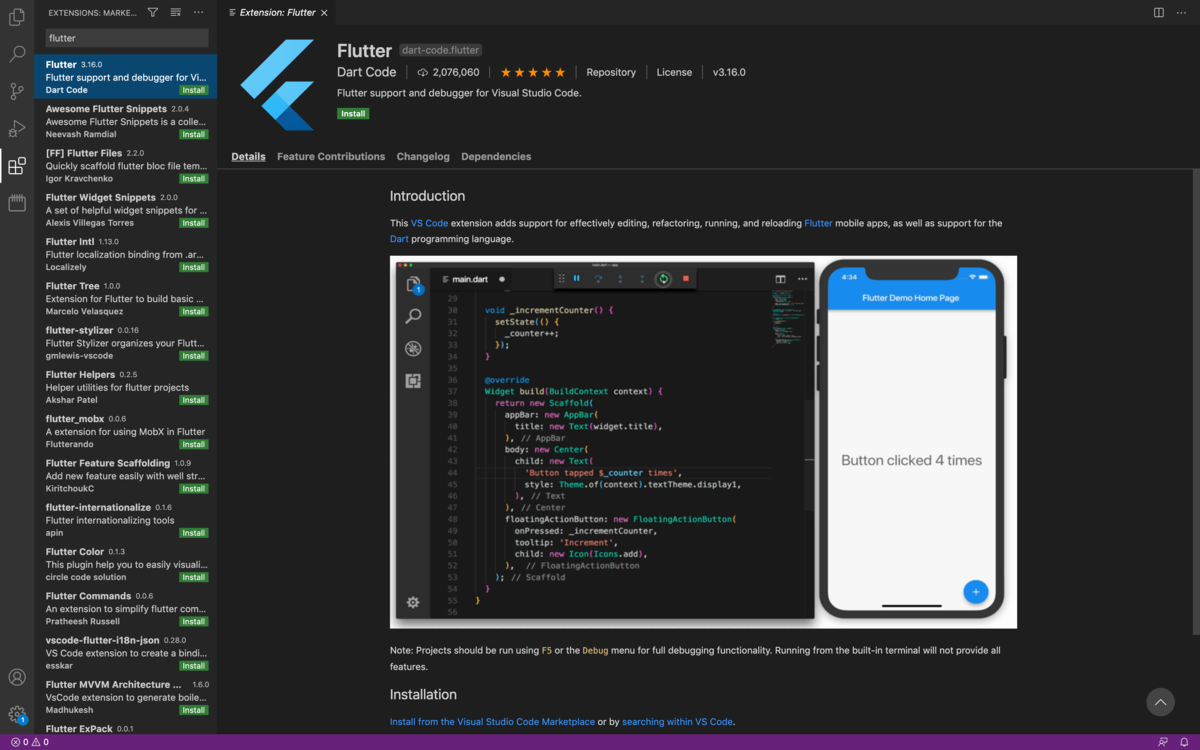
VSCode上でプラグインで「flutter」をインストールします。
実機のセットアップ
利用する実機で開発者向けオプション、USBデバッグが有効になっているか確認します。
以下のページを参考にしてください。
developer.android.com
実機とPCをUSBで接続します。接続した際に実機側でUSBの利用目的を選択するダイアログが表示されたら、
ファイル転送モードを選択するようにしてください。
以下のコマンドを実行し、実機が認識できているか確認します。
flutter devices
以下のように表示されれば認識できている状態です。
1 connected device:

Pixel 4a (mobile) • 07311JEC209765 • android-arm64 • Android 11 (API 30)
もし、以下のようなメッセージが表示された場合は、以下の3点を確認してください。
No devices detected.

Run "flutter emulators" to list and start any available device emulators.

If you expected your device to be detected, please run "flutter doctor" to diagnose potential issues. You may also try increasing the time to wait for connected devices with the --device-timeout flag. Visit https://flutter.dev/setup/ for
troubleshooting tips.
- 開発者向けオプションが有効になっているか
- USBデバッグが有効になっているか
- USB接続時の利用目的がファイル転送になっているか
動作確認
flutter doctor を実行して、以下のような結果が表示されたら準備完了です。
[✓] Flutter (Channel stable, 1.22.4, on Mac OS X 10.14.6 18G6032 darwin-x64, locale ja-JP)

[✓] Android toolchain - develop for Android devices (Android SDK version 30.0.2)
[✗] Xcode - develop for iOS and macOS
    ✗ Xcode installation is incomplete; a full installation is necessary for iOS development.
      Download at: https://developer.apple.com/xcode/download/
      Or install Xcode via the App Store.
      Once installed, run:
        sudo xcode-select --switch /Applications/Xcode.app/Contents/Developer
        sudo xcodebuild -runFirstLaunch
    ✗ CocoaPods not installed.
        CocoaPods is used to retrieve the iOS and macOS platform side's plugin code that responds to your plugin usage on the Dart side.
        Without CocoaPods, plugins will not work on iOS or macOS.
        For more info, see https://flutter.dev/platform-plugins
      To install:
        sudo gem install cocoapods
[!] Android Studio (version 4.1)
    ✗ Flutter plugin not installed; this adds Flutter specific functionality.
    ✗ Dart plugin not installed; this adds Dart specific functionality.
[✓] VS Code (version 1.51.0)
[✓] Connected device (1 available)
VSCode上で、コマンドパレット(command+shift+p)を開き、「Flutter: New Project」を選択します。
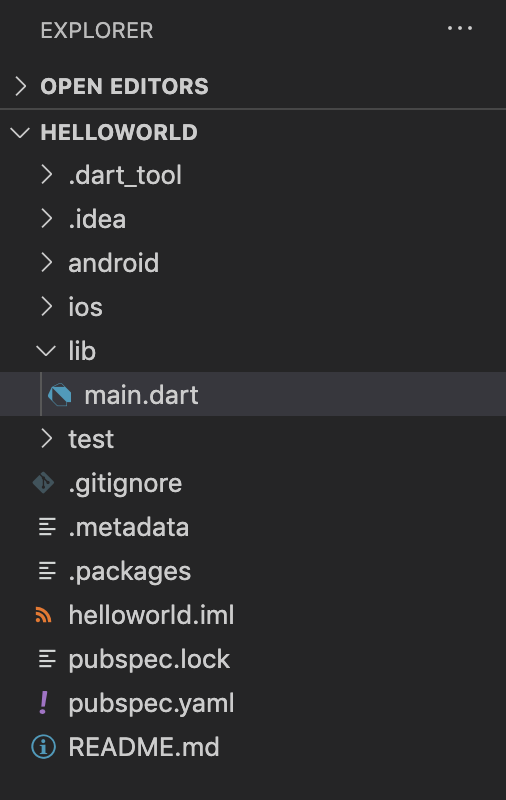
プロジェクト名は「helloworld」にします。プロジェクトが作成されると、以下のようなディレクトリ構成が表示されます。
VSCodeの右下に、接続中の実機が表示されていることを確認し、F5でデバッグを実行します。
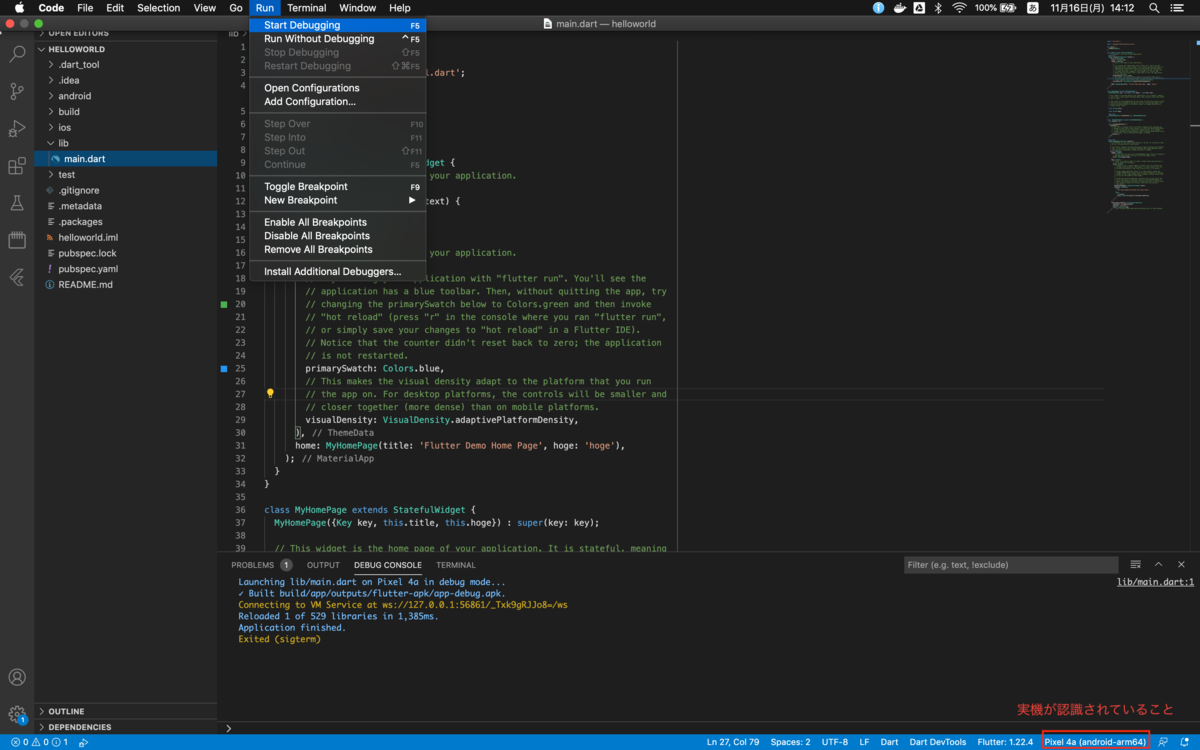
※初回ビルド時は多少時間がかかります。
ビルドが完了すると、実機に以下のような画面が表示されます。
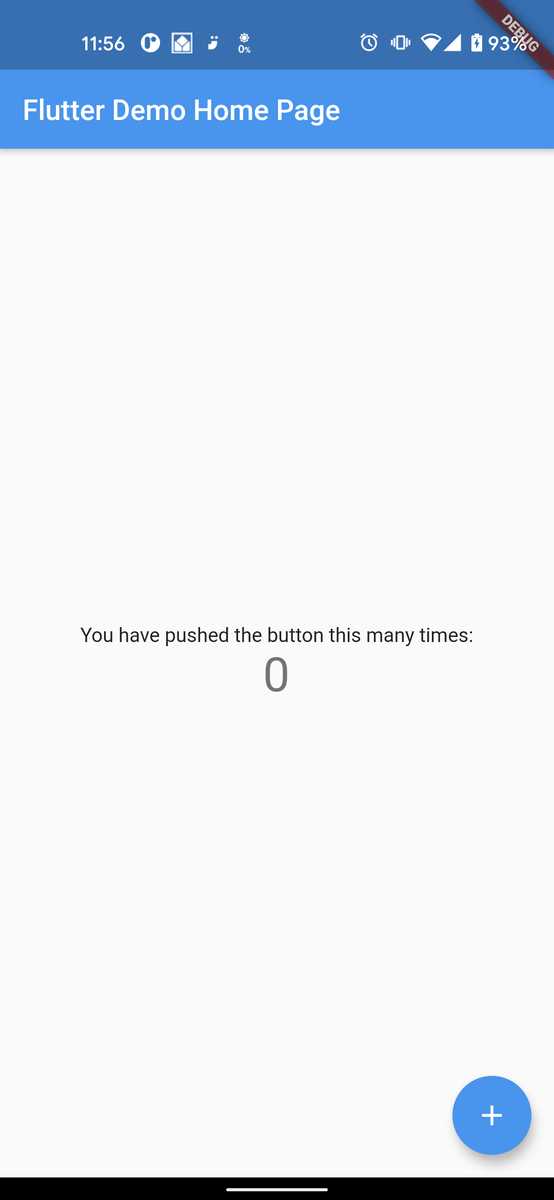
これで、開発環境の構築は完了です。
では、Flutter開発をエンジョイしてください。
